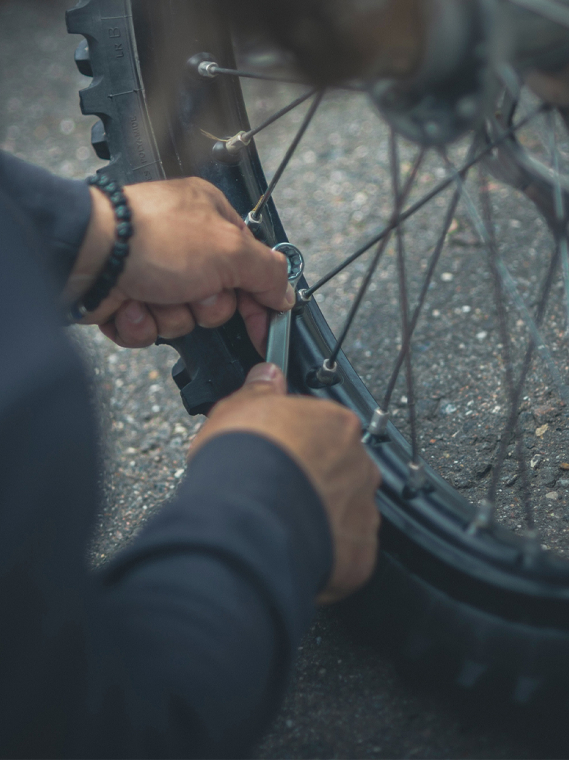
How to replace a punctured bike tyre tube
Triatletas Principiantes
2 de febrero de 2016
The only thing worse than getting a punctured bike tyre is being in the middle of nowhere when it happens and not knowing how to fix it! Kiwi Ironman...
A professional bike fit should make you sit more comfortably and ride more efficiently and can improve your riding experience immensely as a triathlete. Orca ambassador Sarah Crowley fills us in on what takes place for this to happen.
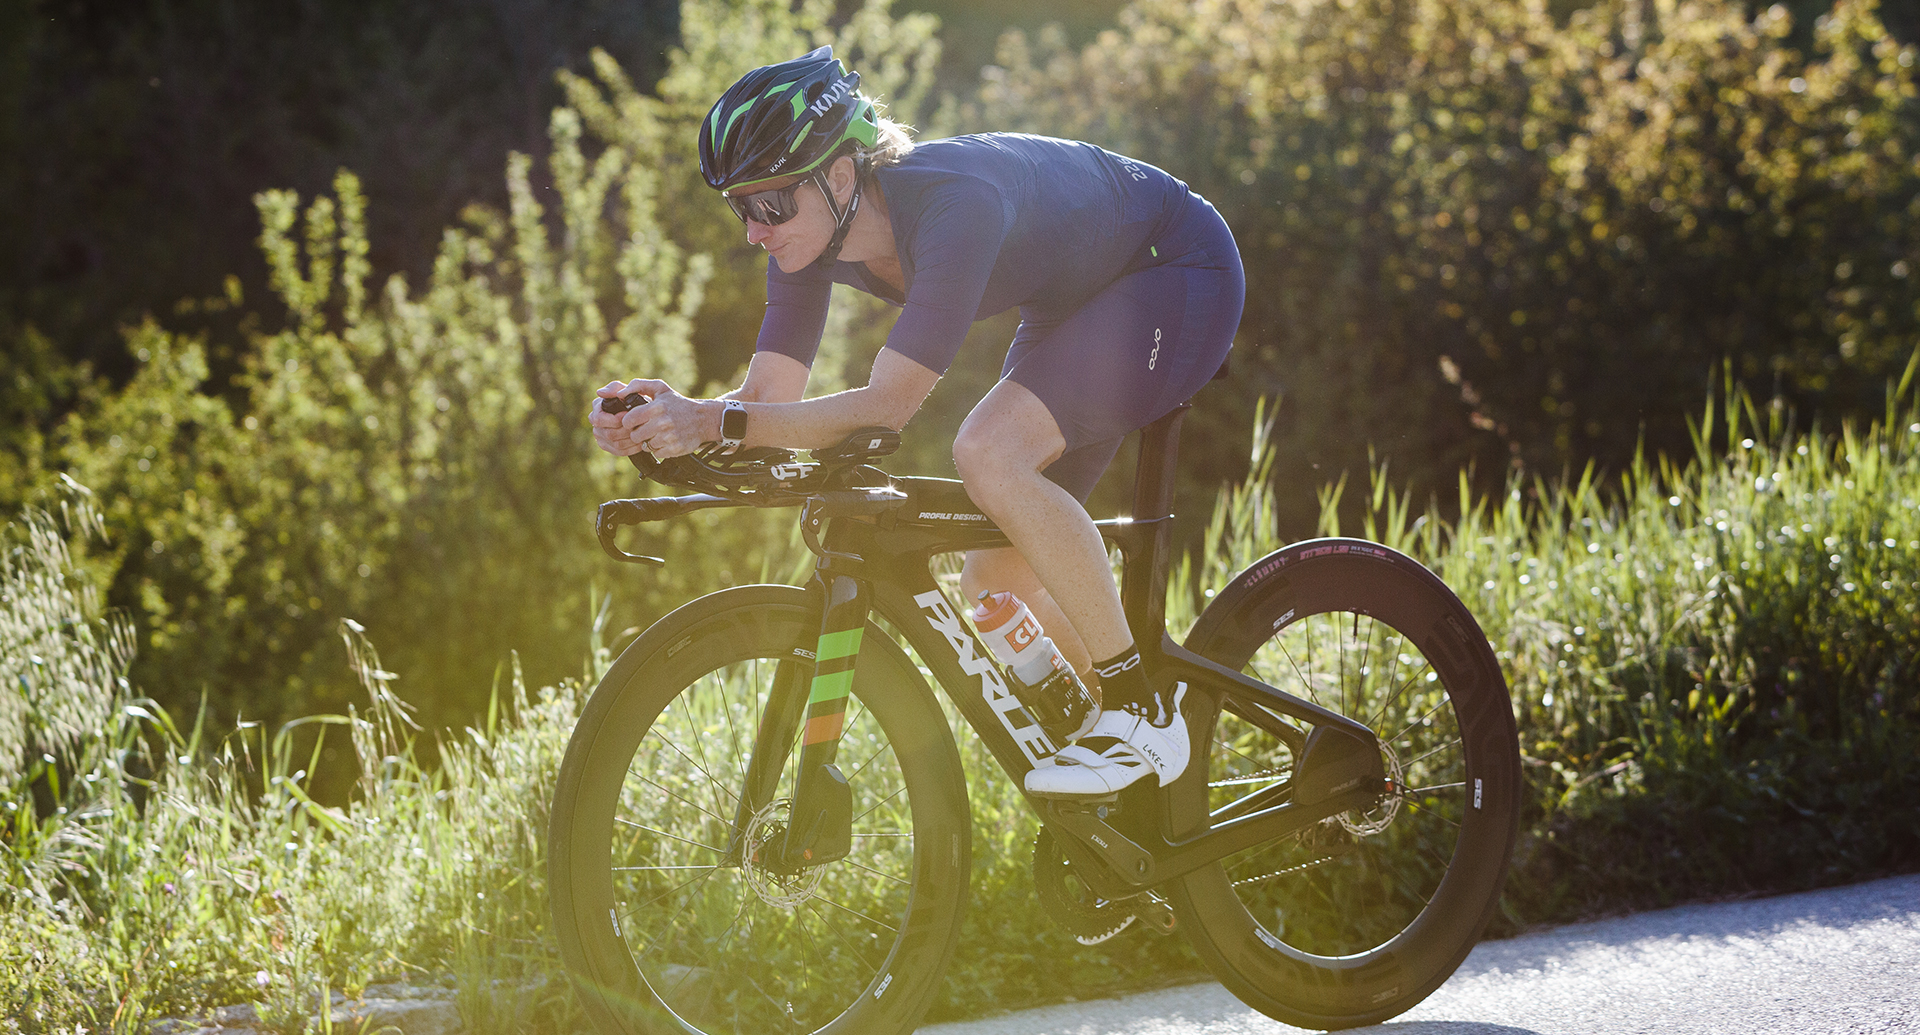
If you are new to triathlon, you may have heard people talking about getting their triathlon bike "fitted" but wondered exactly what this means?? Orca ambassador and Ironman 70.3 athlete Sarah Crowley sheds some light on what really happens at one of these and what you should expect to get out of a bike fit.
The whole point of a bike fit is to make you sit more comfortably (which will let you ride for longer) and to help you ride more efficiently.
Who should you trust
It is best to trust your bike fit with a professional. Seek out a fitter that is either a qualified Cycling or Triathlon coach, has demonstrable experience and has appropriate qualifications. The best bike fitters draw on extensive experience to produce the magic fit that is cross referenced and supported by analysis from a bike fit system.
Pre-fit
The whole process is very personable and thorough and takes about two to three hours to complete. The fitter should first take you through an interview and a flexibility assessment to check for any limitations or existing injuries. This also allows the fitter to gain an understanding of your riding objectives and experience level.
What happens during the fit
Most bike fit systems use little markers that are stuck to you in strategic locations (including the wrist, elbow, shoulder, hip, knee, ankle, heel, and toe). As you pedal, a sensor will gather real-time, three-dimensional data of your pedal strokes and movements. Data is compiled into a reader-friendly report for analysis by your fitter. The fitter can then critically assess how his adjustments to your position are reflected in your pedal stroke. That said, its important to realise that the system is a tool for the fitter and shouldn't be the rule. The fitters art is in ensuring the fit is right for you and your needs and objectives as a cyclist.
Cleat position
A key part of the whole bike fit process is working on the cleat position. These small adjustments are what get your legs tracking as straight as possible for your biomechanics. You can clearly see this when you’re analysed using the reference points on the monitor. Small adjustments to the cleat can make all the difference between having knee issues and smooth pedal strokes.
Camera
Having a view of how your legs are tracking on the camera is an excellent way to see how the adjustments affect your pedalling and position. What you think might be happening when you change the position of something may be completely different than what’s actually happening. The angles of your pedal stroke are also assessed (both legs) and finer adjustments are then made.
Saddle
The fitter may try a number of different saddles but it is important to choose the one that is most comfortable for you. This is one thing that is totally personal and is very important to get right so that your hip position is optimal for Triathlon.
You should love your new seat and seat position, and should feel as though you could ride on it for hours without any discomfort. The fitter will often let you demo a seat for a couple of weeks to ensure you are happy before you buy one.
Bike Adjustments
The positions that are generally adjusted on the bike frame are the saddle height, saddle position, bar length (reach), and stem height (drop).
Adjustments typically start with your seat position and bar hight. The fitter will then move to adjust the adjusted stem length. The fitter may even suggest a change to your crank length which may change the feel compared to your previous bike. For example, a reduction in crank length from 170mm to 167.5mm will result in a small loss of torque but would optimise the hip position for triathlon.
Once you are happy the camera may be used to measure the angles of the bike which can be compared to your flexibility assessment. It is also good to be able to see your position on camera whilst your making the adjustments to spot the big differences that small adjustments can make (in areas you wouldn’t expect too).
Final Report
At the end of the process the fitter should review the final report of your “before and after” positions, store the exact measurements of your final bike fit, video analysis of your pedal stroke and a heap of other useful information that could be used to refine your position in the future.
What should you get out of it?
In the end your new bike position may only change marginally in terms of millimetres but should feel substantially more comfortable after the fitter has worked their magic. The little adjustments will make a big difference in combination, particularly for power and comfort.
All in all a professional bike fit will leave you feeling more comfortable and confident on your bike after you have finished. You will also have a starting point for future alteration.
Follow Sarah's progress on Instagram, Twitter or check out her website for more great tips!
2 de febrero de 2016
The only thing worse than getting a punctured bike tyre is being in the middle of nowhere when it happens and not knowing how to fix it! Kiwi Ironman...
25 de noviembre de 2015
Drafting rules in different race situations can be confusing and intimidating for both beginner triathletes and seasoned pros alike! Triathlete Pro an...
8 de septiembre de 2015
Las transiciones a veces se les llama el "cuarto deporte" pues una correcta ejecución de las mismas te puede asegurar entrar y salir ganando valiosos...