A Triathlete's Guide to Drafting with Philip Graves
Beginner Triathletes
25. November 2015
Drafting rules in different race situations can be confusing and intimidating for both beginner triathletes and seasoned pros alike! Triathlete Pro an...
The only thing worse than getting a punctured bike tyre is being in the middle of nowhere when it happens and not knowing how to fix it! Kiwi Ironman athlete Simon Cochrane is here to help with a step-by-step guide on how to replace your bike tube.
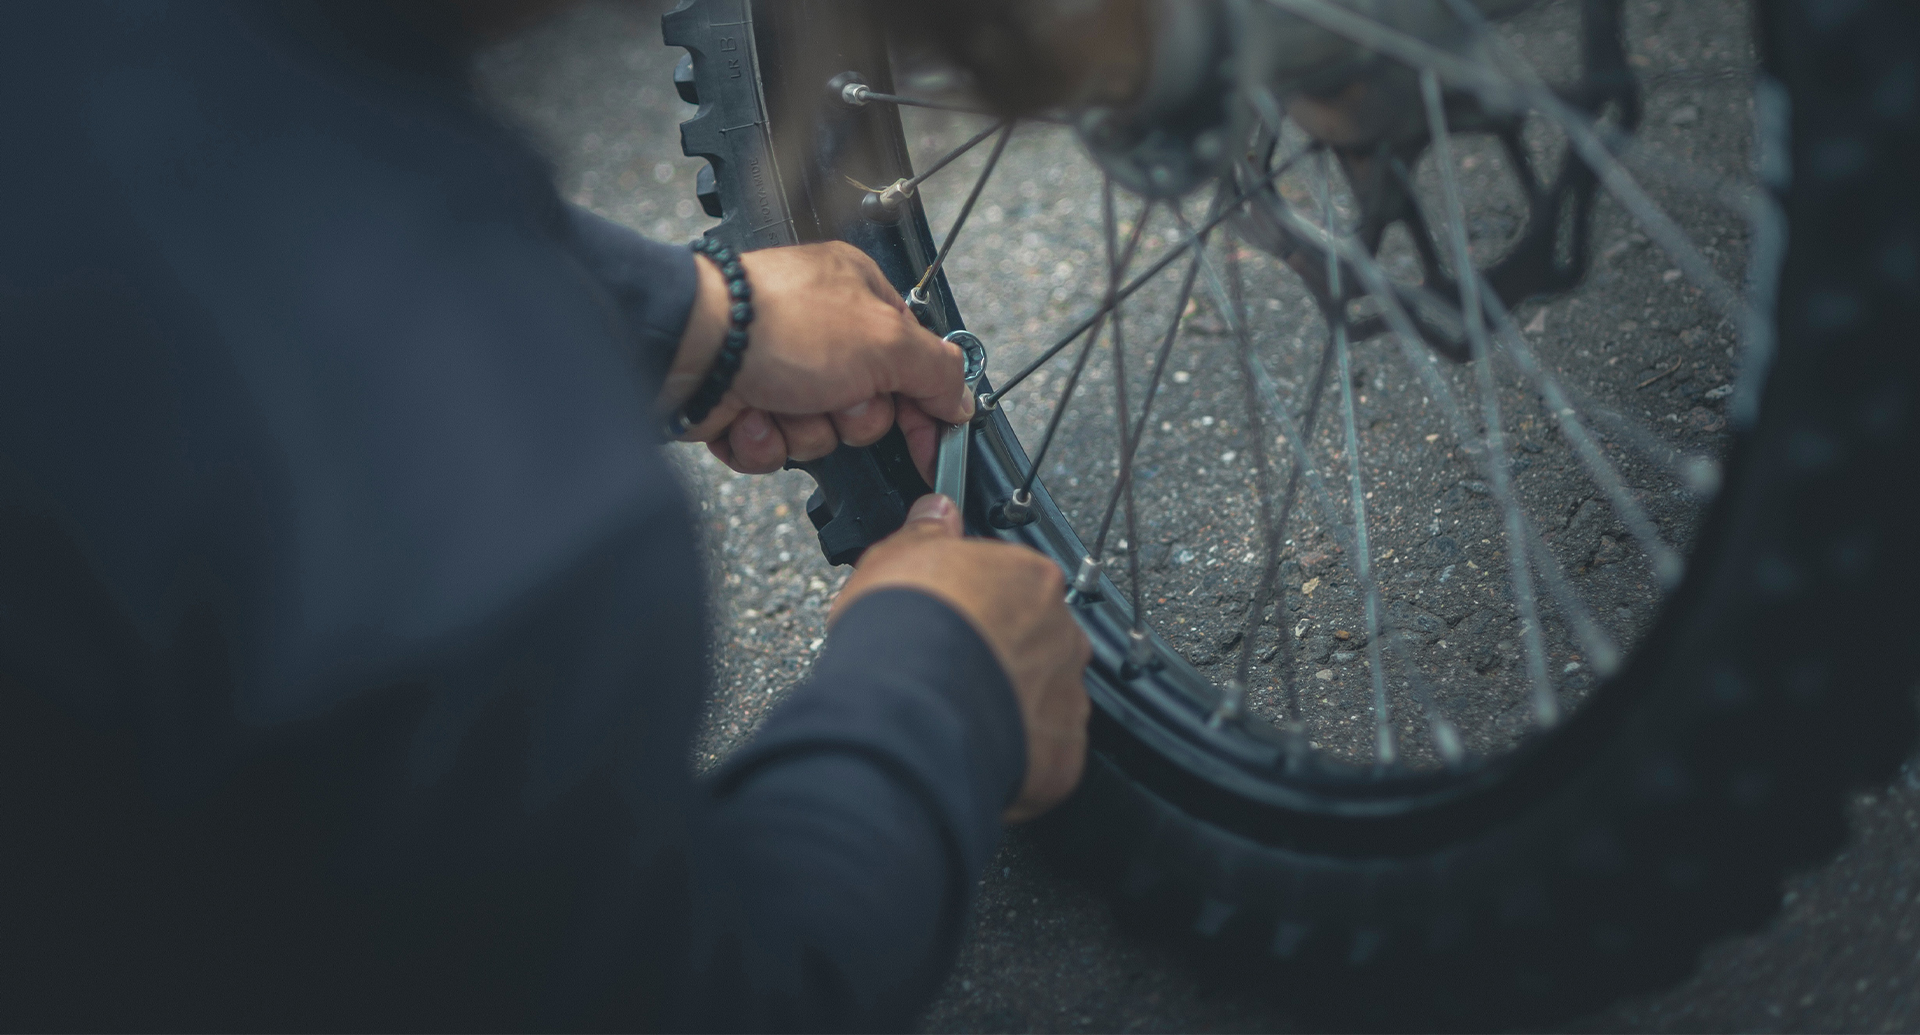
Don't you hate that horrible feeling when you realize you've got a puncture to your bike tyre and you're far from home? You can either call your Mum to come and pick you up…OR: You can learn how to do it yourself and never need an emergency rescue ever again!
We like the second option best so never be stranded out in the middle of nowhere with a puncture to your bike tyre again with this handy "how to" guide by Kiwi Ironman athlete Simon Cochrane. Read up on this step-by-step process and have a practise and in next to no time you'll be a pro at getting back on the road after a puncture.
Tools you will need:
2 x tyre levers
1 x C02 inflator/mini hand pump
1 x new inner tube
What To Do Next:
1. Loosen your brakes and undo your quick release lever to remove your bike wheel.

2. Completely deflate the tube by pressing down on the inner part of the valve (remove the locking ring if you have one)

3. Loosen the tyre beads from the rim by squeezing the tyre – this will help when removing the bike tyre.

4. Take your tyre levers and place one between the tyre and the rim to lift the tyre up over the edge of the rim. Move around the rim about 15cm and do the same with the 2nd lever – you should be able to slide the lever around the rim to release the tyre off one side.

5. Remove the punctured tube and thoroughly check the inside and outside of the tyre for anything that may have caused the puncture. This could be glass, a sharp stone or a nail, so be careful not to slice your finger!
6. Partially inflate the new tube before inserting into the tyre (this helps it to keep its shape and not get twisted)
7. Carefully re-seat the tyre back onto the rim by rolling it using your fingers if possible – If not use a lever to assist with the last bit. (If it is a tight tyre, push the bead into the middle channel of the wheel to create some slack)

8. Inflate the tyre ensuring that the bead has popped back into place and is seated on the rim.
9. Fit wheel securely back into the bike, and adjust the brakes back up.

Get back to training! This whole process should take 3-5mins with some practise.
By Simon Cochrane – Professional Ironman Triathlete. Follow him on:
Facebook – https://www.facebook.com/SimonCochraneIronman
Instagram – @cochranesimon
Twitter - @cochranesimon
25. November 2015
Drafting rules in different race situations can be confusing and intimidating for both beginner triathletes and seasoned pros alike! Triathlete Pro an...
8. September 2015
Transitions are often called Triathlon's "fourth discipline" - if you get it right it will save you valuable seconds over your competitors. Sophia Sa...

15. Juli 2015
If you're new to triathlon, or specifically wearing a triathlon wetsuit, help is here! Seasoned Ironman athlete Andrew Starykowicz is here to show...